

How To
Plant a Tree
10 Steps to Planting a Tree
Click on each number to get to the next step.
Step 1
- How large do you want the tree to get?
- Do you want it to be evergreen or deciduous?
- What's its purpose? Shade, privacy or decoration?
- Do you want it to flower?
- Do you want to attract birds/butterflies?

Step 2
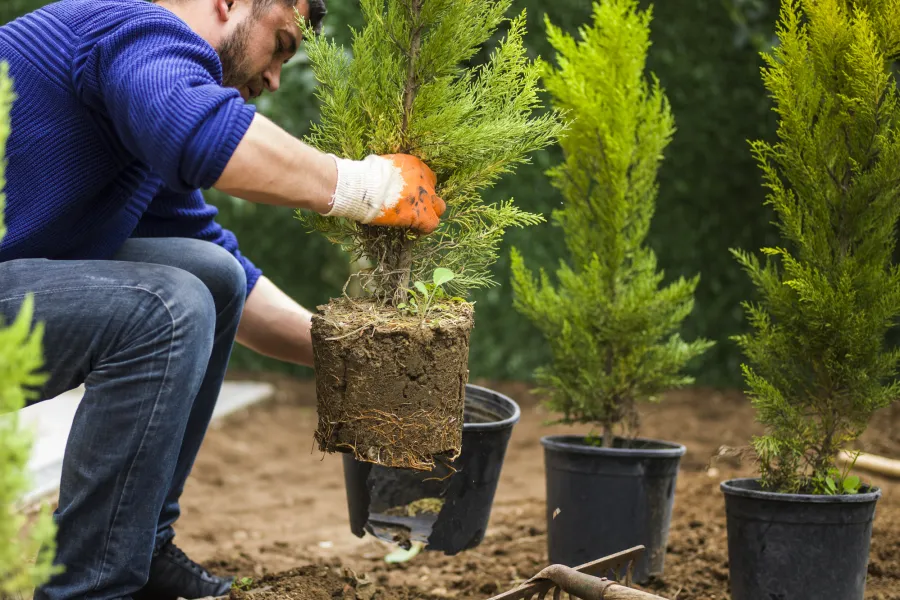
Step 3
Step 4
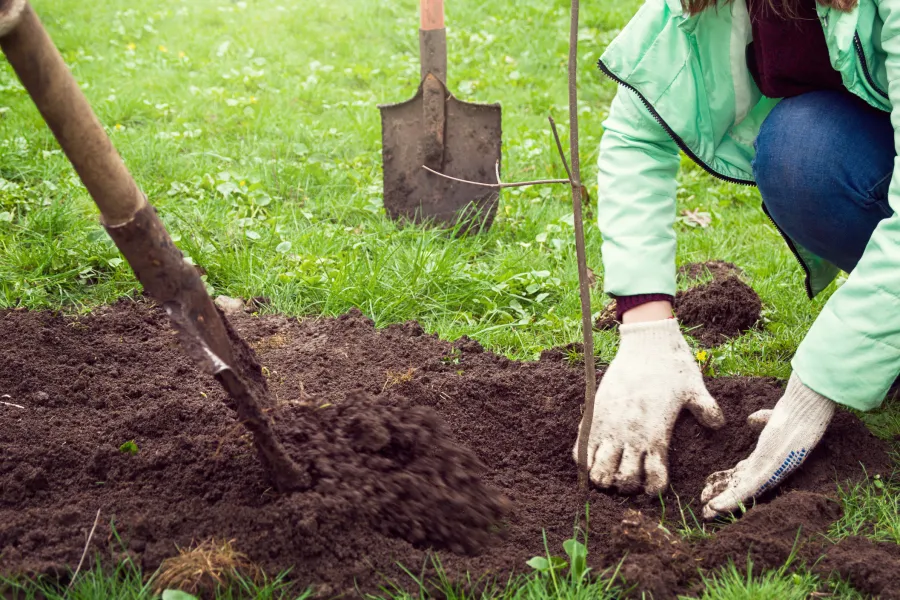
Step 5
Step 6
Step 7
Step 8
Step 9
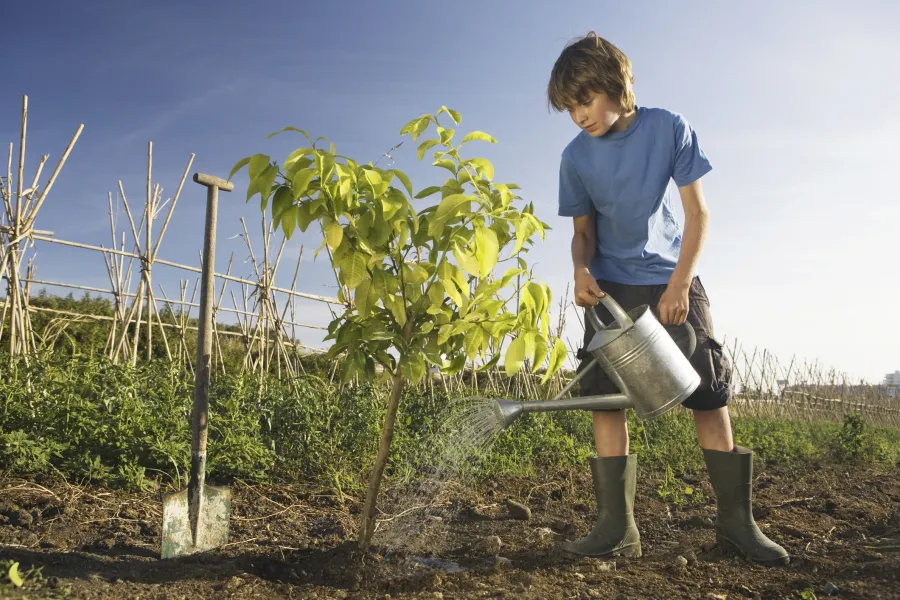
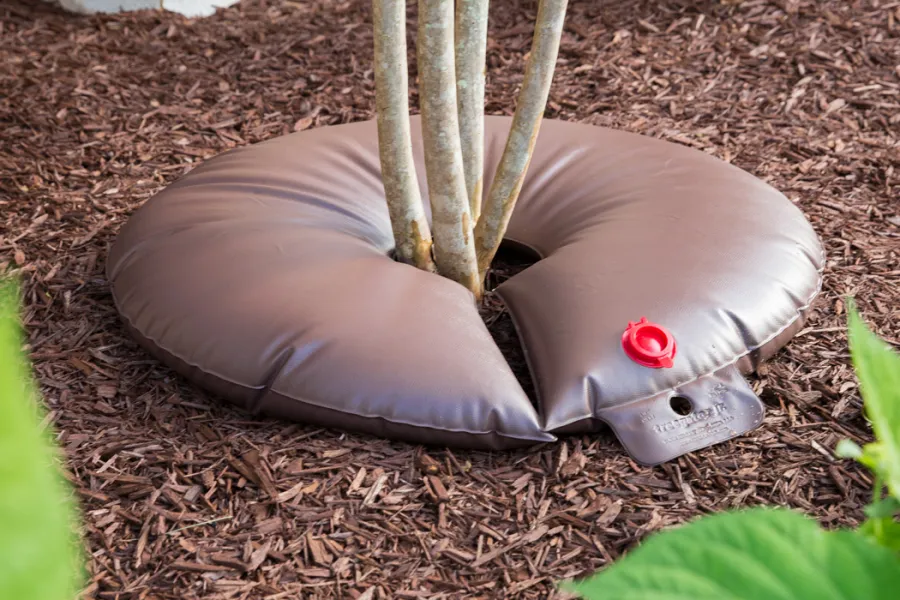
Make thing easy on yourself by establishing a watering schedule, and use handy tools like a watering bag (pictured) or a soaker hose paired with a timer on your faucet. A watering bag can be filled about once a week and slowly, evenly provides enough moisture right at the root ball. On average, proper establishment of a new tree can take 1 year for every 1 inch of the trunk's caliper (diameter). So you may need to continue providing supplemental water for multiple growing seasons. You can gradually reduce supplemental watering every few months until the roots are established. Remember - supplemental watering may not be necessary during rainy seasons, or you may need to provide extra water during an extended dry period.
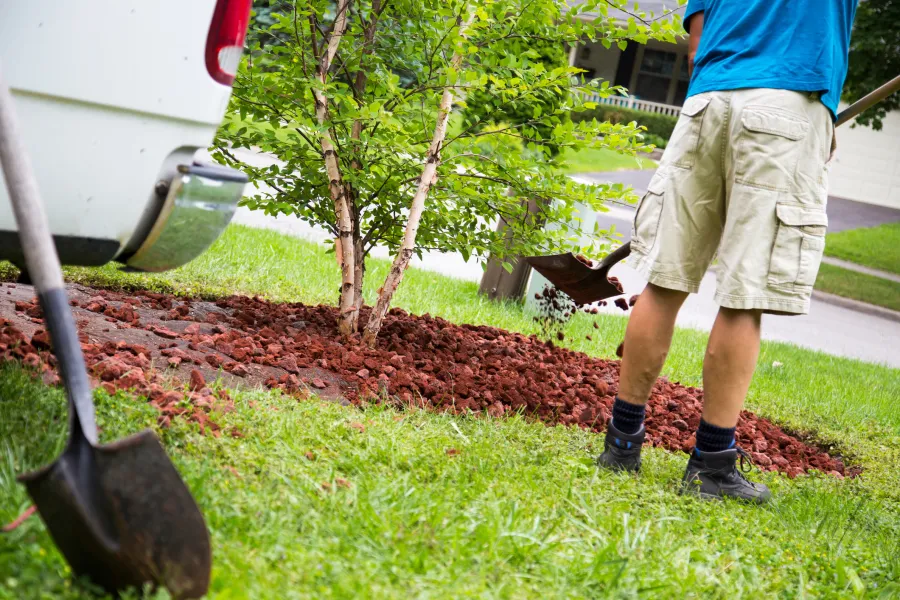
Step 10
Shopping List
- Tree of your choice
- Pike Planting Mix
- Shovel
- Water bag or soaker hose & faucet timer


