


DIY Egg Head Planters
Kooky, Sustainable, & Fun
Egg Head Planters
Eggshells and seed starting are a match made in heaven! Reuse the egg shells you use for cooking to create kooky and fun containers to start seeds. The egg shell breaks down easily and naturally so when the seedling is ready to be planted into the garden, you can stick the whole egg into the soil--no transplanting containers required! Egg shells are rich in calcium carbonate, which is an essential nutrient for plants. This is a fun garden project for the whole family.

Egg Head Planters
Here are step-by-steps instructions to start seeds in a kooky egg head planter:
Step One
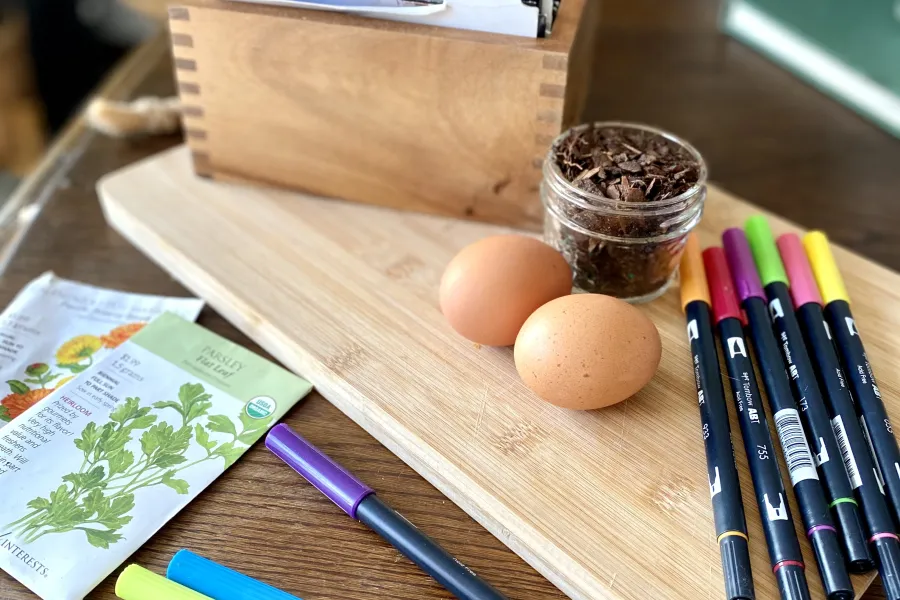
Collect your supplies (supplies listed below) and pick out the seeds you want to start in your egg head planter.
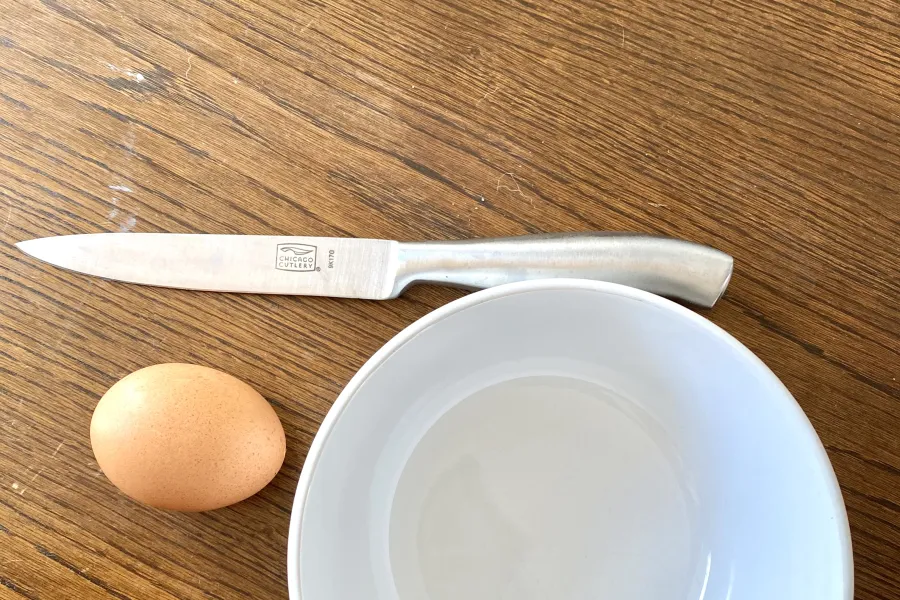
Step Two
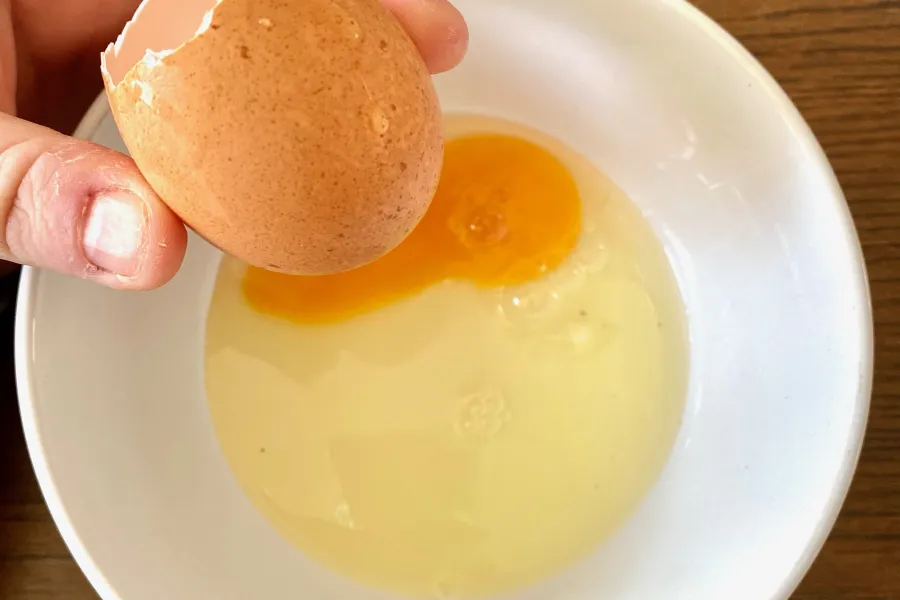
Step Three
After getting the hole in the top of the egg large enough, carefully pour the egg white and the egg yolk out of the hole. Using your finger nail, gently scrape the membrane from the inside of the egg. If left inside the egg shell, the membrane will rot and cause your soil and seed to mold. After removing the membrane, gently wash out the egg shell and leave it for a few minutes to dry.
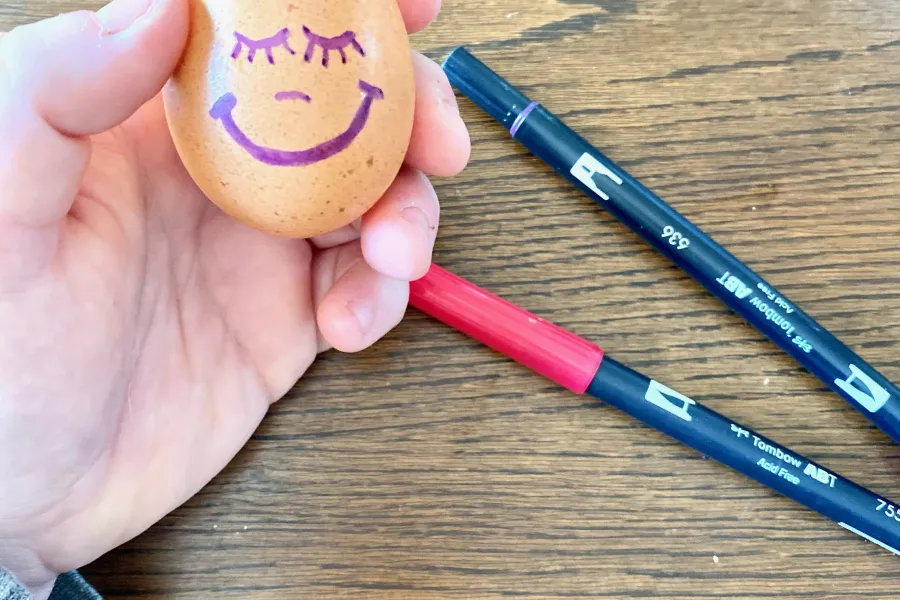
Step Four
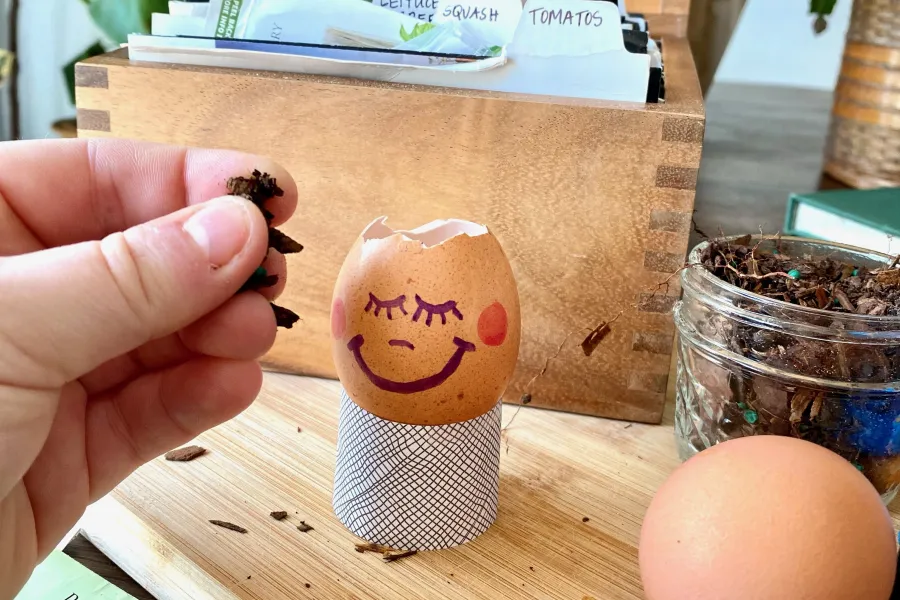
When your egg is dry, now it is time to decorate and make a stand for your egg head planter. Using markers or paint, draw a silly face on your egg planter. When the seeds germinate and sprout, it will look like hair for your kooky egg head planter.
Using your small strip of card stock, simply tape it together to form a ring so that your egg head can have a stand to sit in.
Step Five
After creating your stand and decorating the outside of your egg, take your fluffy potting soil and gently pack it into the egg shell. Using a spray bottle, mist the top of the soil lightly.
Step Six
Take 2-3 of your chosen seeds and sprinkle them into the surface of the soil. Lightly dust the top of your seeds with soil and give your egg head planter another mist of water. To finish your project, set your egg head in a sunny, warm place and mist your planter once a day. Depending on the seed type, you should see the seed sprout within a few days to a few weeks.

Step Seven
Congratulations; you have germinated seeds inside an egg head planter! Continue to enjoy your sprout inside your egg head plater, snipping pieces off as needed. If you plan to plant your seeds in the garden, follow seed packet instructions to ensure the temperature is optimal. Dig a hole in the soil and stick the entire planter inside the hole, making sure that your seedling is above ground before patting soil around it. Enjoy your egg head planter!

Supplies List
- Eggs
- Knife, needle or scissors
- Fluff soil or seedling soil
- Seeds
- Markers or paint
- Card Stock cut into 1 x 4 strips


