

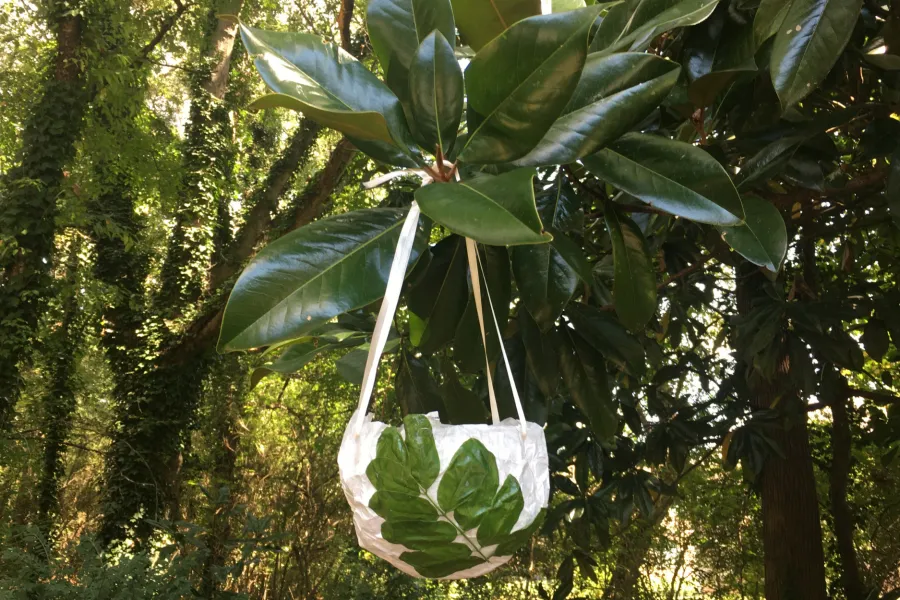
Foliage Paper Lantern
Practical & Creative
Make your own Foliage Paper Lantern
Create your very own paper lantern decorated with the foliage from your backyard!

Foliage Paper Lantern (Ages 5+)
Click below to see a list of supplies you'll need and steps to take to make your own:
Step One
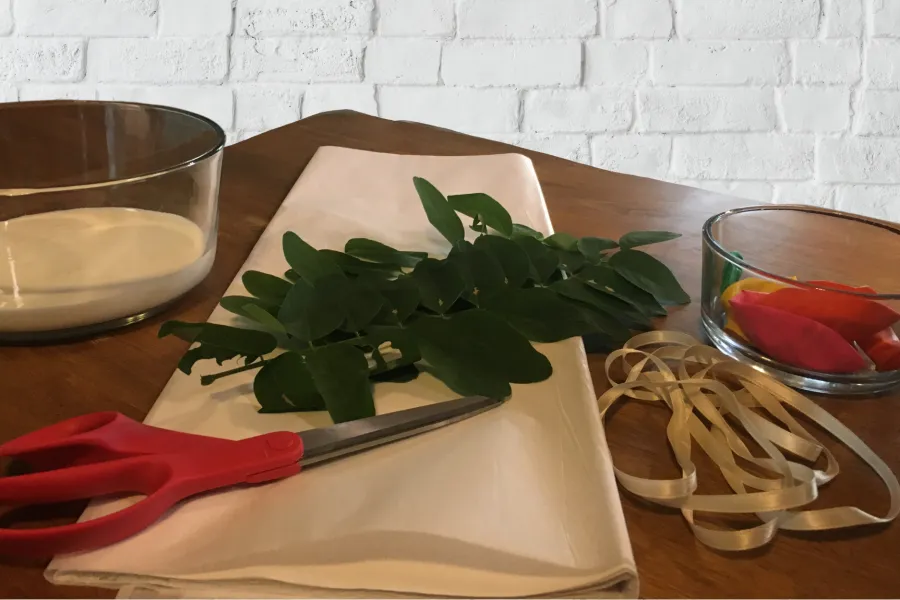
Collect your supplies (supplies listed below). Create a clean workspace with a smooth surface.
Step Two
Step Three
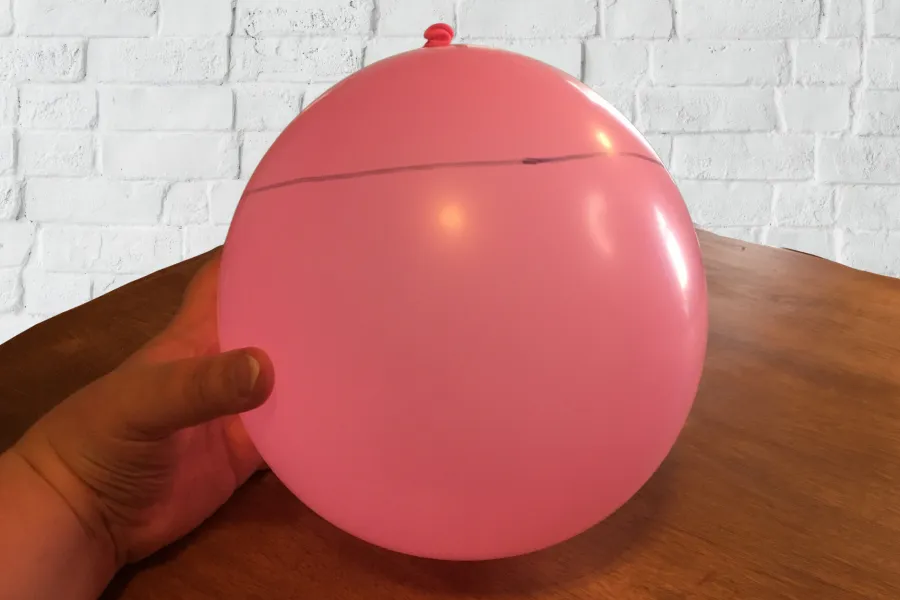
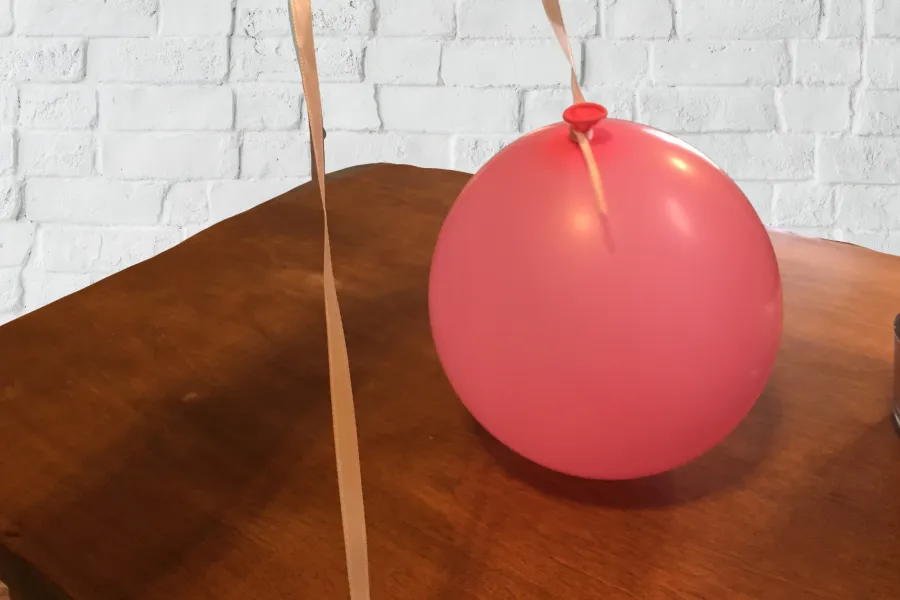
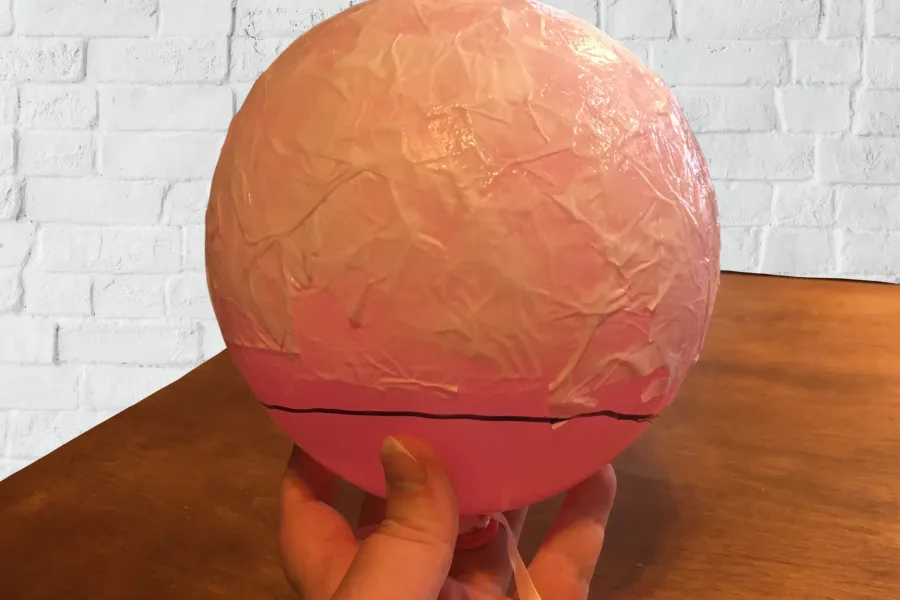
Draw a circle around the base of the balloon to create a guide for where lantern opening will be.
Step Four
Tie String or Ribbon around balloon. (This will be used to hang balloon to dry later)
Step Five
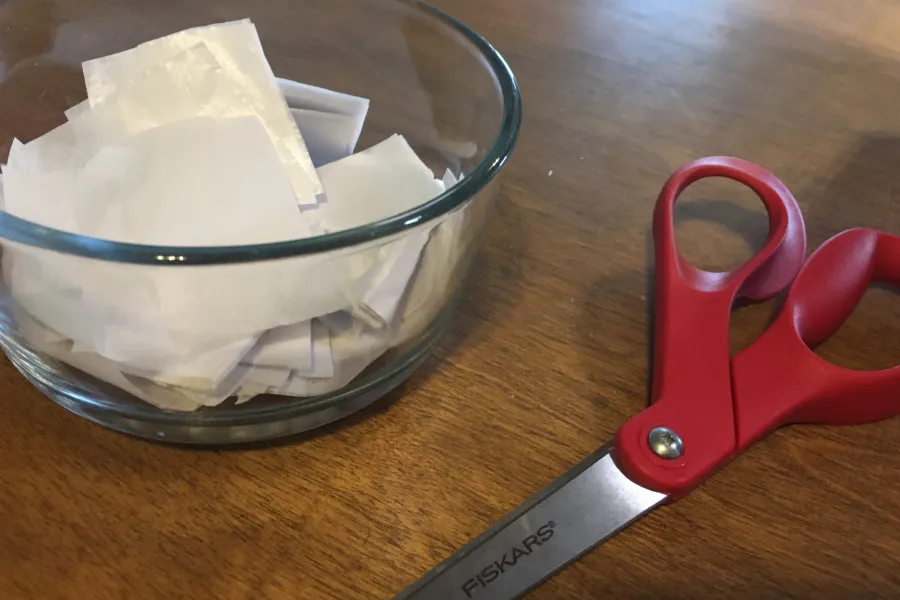
Layer wallpaper glue and Tissue paper around ballon, keep layering until paper seems less translucent (4-5 layers)
Step Six
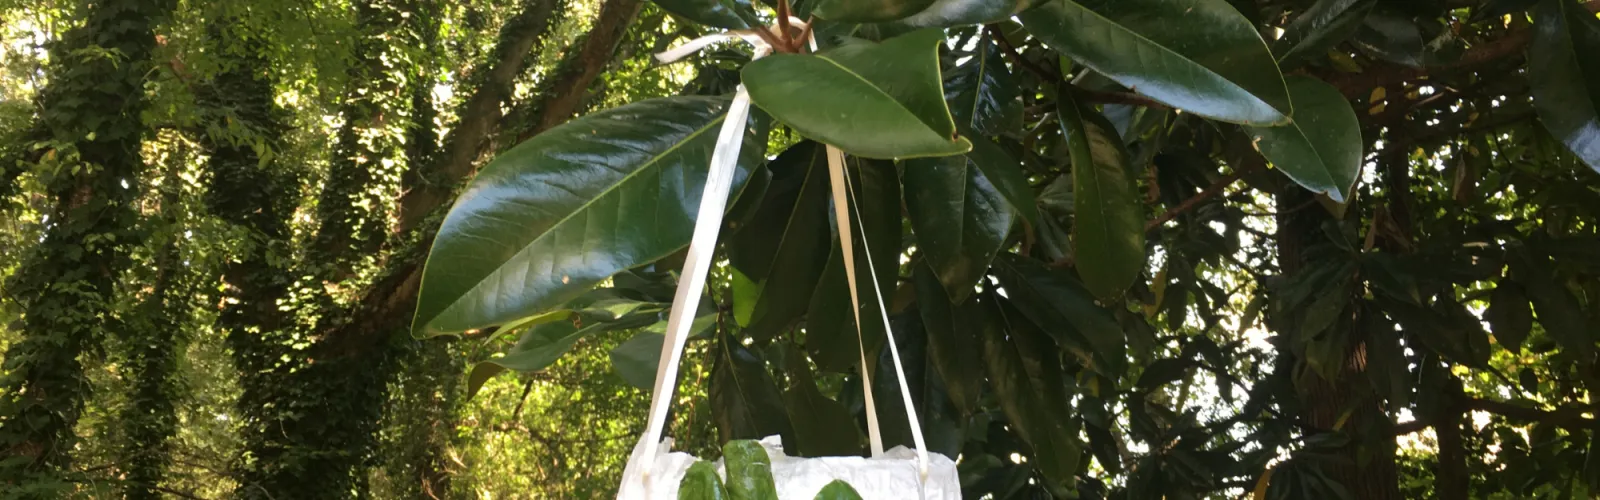
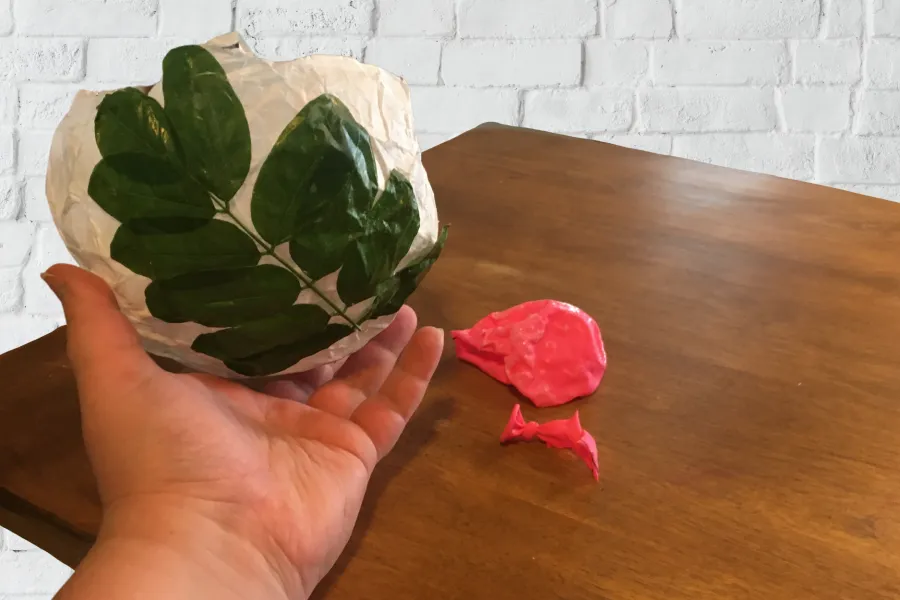
Use Wallpaper glue to layer on foliage, Glue will dry clear, be generous! Then hang to dry for 24-48 hrs.

Step Seven
Once Fully Dry, Use scissors to cut small hole into the top of the balloon. It should gently pull away and shrink from your Crinkled paper lantern form.
Step Eight
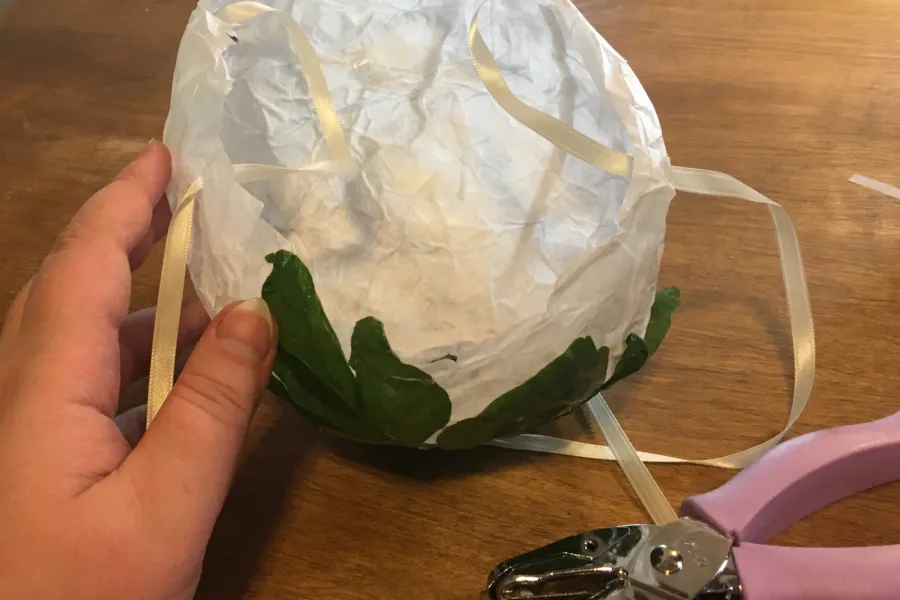
Use Hole punch to create 4 holes and thread string or ribbon through to hang.
Step Nine
Find a beautiful spot to hang, and place in a battery powered tea light!
Supplies List
- Translucent Tissue Paper (white)
- Foliage
- Wallpaper Glue
- Balloon
- String
- Scissors
- Hole punch
- Marker
- Tea Light (battery powered)


